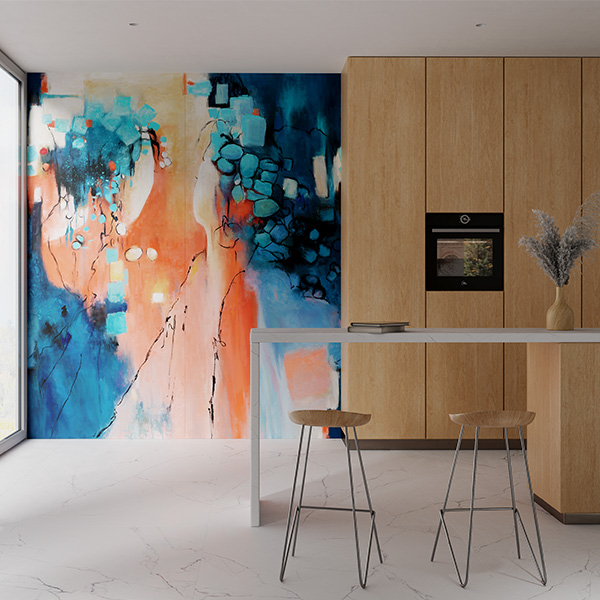
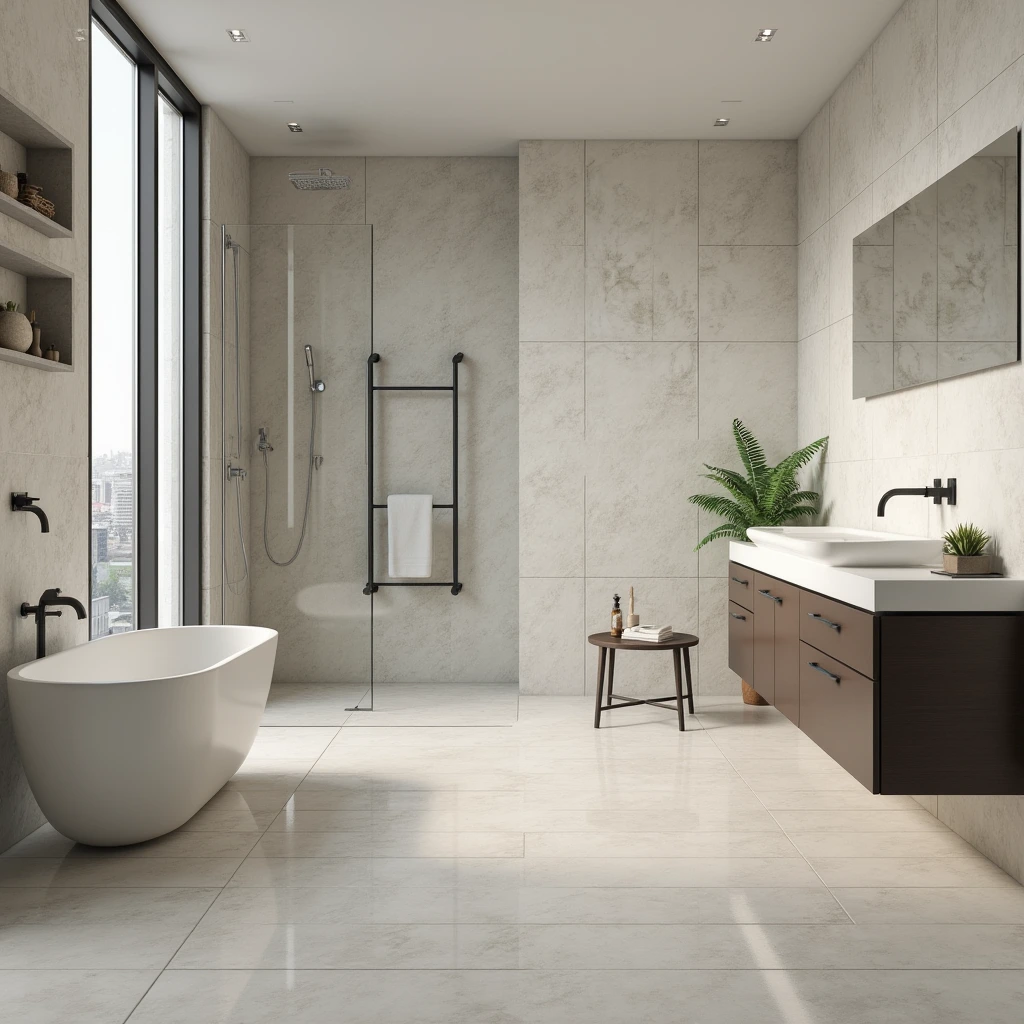
Installing porcelain tile is one of the most rewarding home improvement projects you can undertake. It immediately increases the value of your home and provides a durable, waterproof surface that lasts for decades.
However, porcelain is different from standard ceramic. It is denser, harder, and less porous. This means it requires specific techniques—like back-buttering and special cutting tools—to ensure a bond that won’t crack or pop loose over time.
Whether you are updating a bathroom floor or tiling a kitchen backsplash, this guide covers every step of the DIY porcelain tile installation process.
Phase 1: Preparation and Tools
Before mixing any mortar, you need the right setup. Porcelain is unforgiving; if your subfloor isn’t flat, your large-format tiles will crack.
Essential Tools Checklist
- Wet Saw: Porcelain is too hard for most manual snap cutters; a diamond-blade wet saw is essential for clean cuts.
- Notched Trowel: usually $1/4″\times 3/8″$ or $1/2″\times 1/2″$ for larger tiles.
- Tile Leveling System (Clips & Wedges): Highly recommended for DIYers to prevent “lippage” (uneven edges).
- Rubber Grout Float: For applying grout.
- Mixing Paddle & Drill: To mix mortar thoroughly.
- Knee Pads: Essential for floor installations.
Choosing the Right Mortar
Do not use pre-mixed mastic (organic adhesive) for floor tiles or wet areas. You must use a polymer-modified thin-set mortar (look for ANSI A118.4 or A118.15 on the bag). This provides the strong chemical bond needed for non-porous porcelain.
Phase 2: Surface Prep and Layout
- Clean and Level the Subfloor
The surface must be structurally sound, rigid, and flat.
- Concrete: Fill any cracks or divots with a patching compound.
- Plywood: Ensure it is screwed down tightly. You may need to install a cement backer board (like HardieBacker) over plywood to provide a stable base for the tile.
- Plan Your Layout
Never start tiling from a corner wall, as walls are rarely perfectly square.
- Find the center point of the room by measuring wall-to-wall.
- Snap a chalk line to create a grid.
- Dry Lay: Place a row of tiles along your lines without mortar to check your cuts. If you end up with a tiny sliver of tile at the wall, shift your center line slightly to allow for a wider cut piece at the edges.
Phase 3: The Installation Process
Step 1: Mixing the Thin-Set
Mix your mortar with water according to the manufacturer’s instructions.
- Consistency: It should resemble peanut butter. It should hold its shape (ridges) when troweled but still be wet enough to transfer to the tile.
- Slaking: After mixing, let the mortar sit for 10 minutes (slake), then mix again without adding water. This activates the polymers.
Step 2: Troweling and “Back-Buttering”
This is the most critical step for installing porcelain tile correctly.
- Keying in: Use the flat side of the trowel to burn a thin layer of mortar into the subfloor.
- Directional Troweling: Comb the mortar in straight lines (not swirls). This allows air to escape when the tile is pressed down.
- Back-Buttering: Because porcelain is non-porous, it bonds poorly compared to ceramic. You must apply a thin skim coat of mortar to the back of every tile before placing it. This ensures 100% coverage.
Step 3: Placing the Tile
Press the tile into the mortar and push it back and forth perpendicular to the trowel ridges to collapse them.
- Insert your tile spacers or leveling clips.
- Check for level frequently. If a tile is too low, pull it up and add more mortar.
Step 4: Cutting Porcelain
Measure carefully. When using a wet saw, push the tile through the blade slowly. Forcing it will chip the hard porcelain glaze. Always wear safety glasses, as porcelain shards are razor sharp.
Pro Tip: If you need to cut an L-shape (like around a cabinet), drill a hole at the corner of the “L” before cutting. This relieves tension and prevents the tile from cracking during the cut.
Phase 4: Grouting and Finishing
Allow the tile to cure for at least 24 hours before walking on it.
- Clean the Joints
Remove any spacer clips and scrape out any thin-set that squeezed up between the tiles. Vacuum the joints thoroughly.
- Apply Grout
Mix your grout (sanded for joints larger than $1/8$ inch; unsanded for smaller).
- Pour the grout onto the tiles.
- Use the rubber float at a 45-degree angle to force the grout deep into the joints.
- Swipe diagonally across the tiles to remove excess grout.
- The Wash Down
Wait about 15–20 minutes until the grout hazes over.
- Use a damp (not soaking wet) sponge to wipe the tiles in a circular motion.
- Rinse the sponge frequently.
- Repeat until the haze is gone.
- Sealing
Porcelain tile itself does not need sealing, but the grout lines do. Apply a penetrating sealer to the grout lines 72 hours after installation to prevent stains.
| Mistake |
Consequence |
| Spot Bonding |
Placing dabs of mortar on corners only leads to cracked tiles. |
| Using Mastic on Floors |
It never fully hardens and will crack under foot traffic. |
| Ignoring Back-Buttering |
The tile may pop loose after a few months. |
| Too much water in Grout |
Weakens the grout and causes color inconsistency. |
Maintenance Tips After Installation
- Clean tiles with mild, pH-neutral cleaners
- Avoid abrasive pads
- Clean spills quickly to protect grout
- Reseal grout when necessary
Proper care keeps porcelain tile looking new for decades.
Final Thoughts
Installing porcelain tile yourself is completely achievable with careful planning and the right techniques. By following this complete guide, you can save money, gain confidence, and enjoy professional-quality results in your home.
If you take your time, prepare properly, and use the correct materials, porcelain tile installation can be one of the most rewarding DIY projects you’ll ever complete.